Clark Ashton Smith Gallery
Page 4 of 5
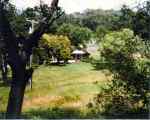
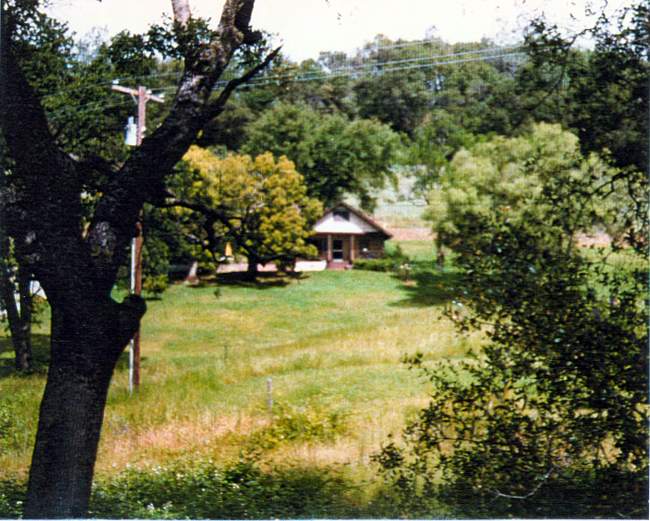
Gaylord Ranch House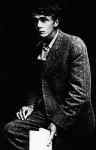
Clark Ashton Smith at 19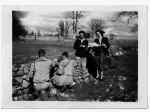
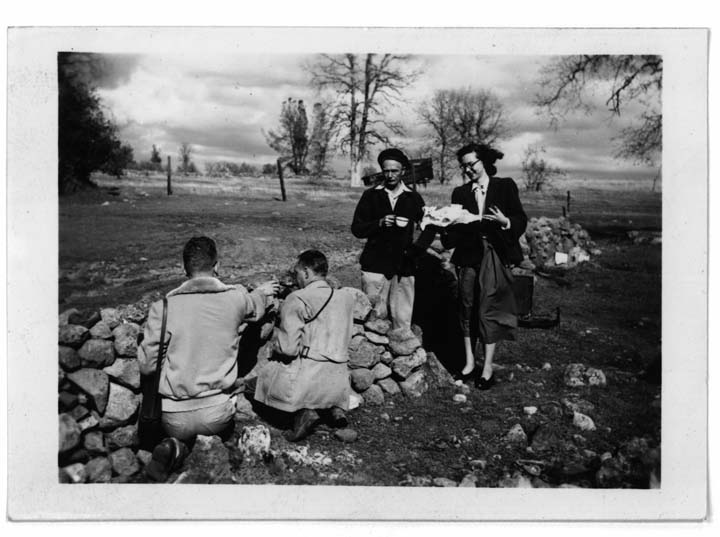
Clark Ashton Smith and Friends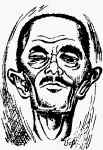
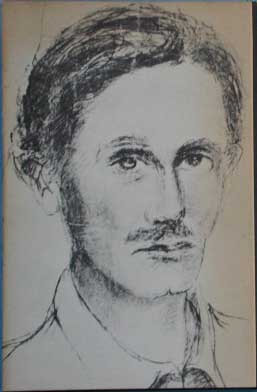
Portrait-caricature of Smith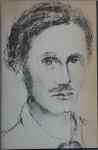
Self Portrait circa 1920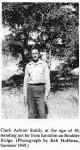
Clark Ashton Smith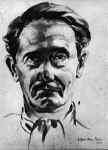
Painting of Clark Ashton Smith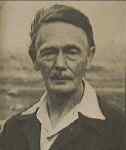
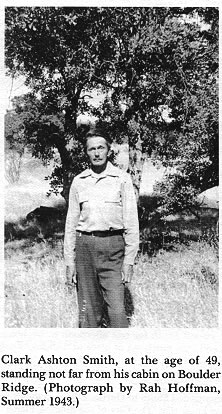
Photo of Clark Ashton Smith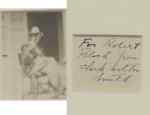
Signed photo of CAS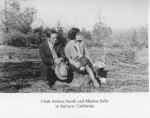
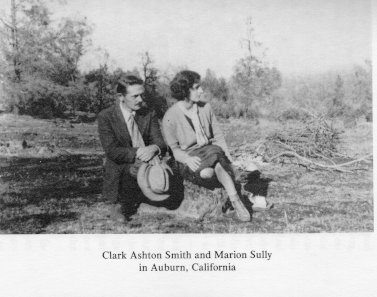
Photo of Clark Ashton Smith and Marion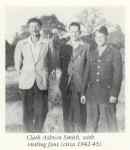
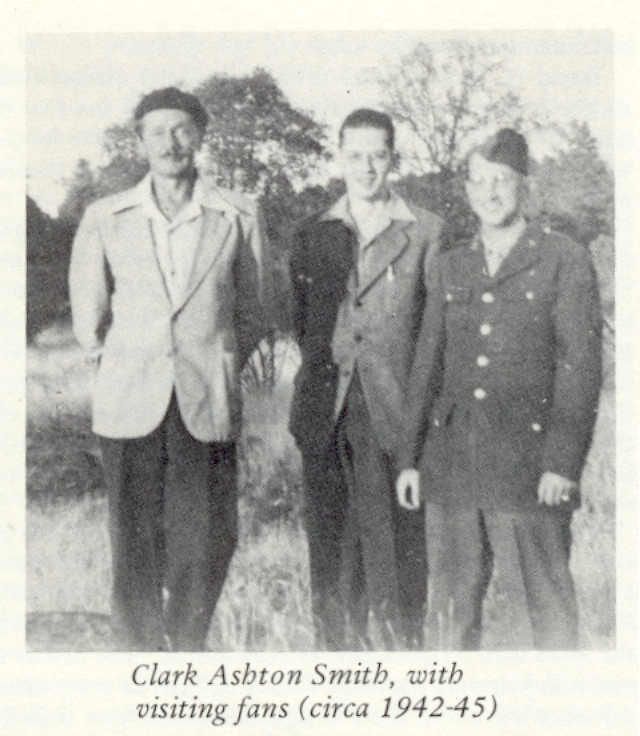
Clark Ashton Smith with Visiting Fans
Photo of Smith and Parents