Gallery of Art Inspired by Clark Ashton Smith
Page 3 of 14
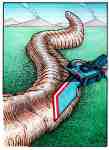
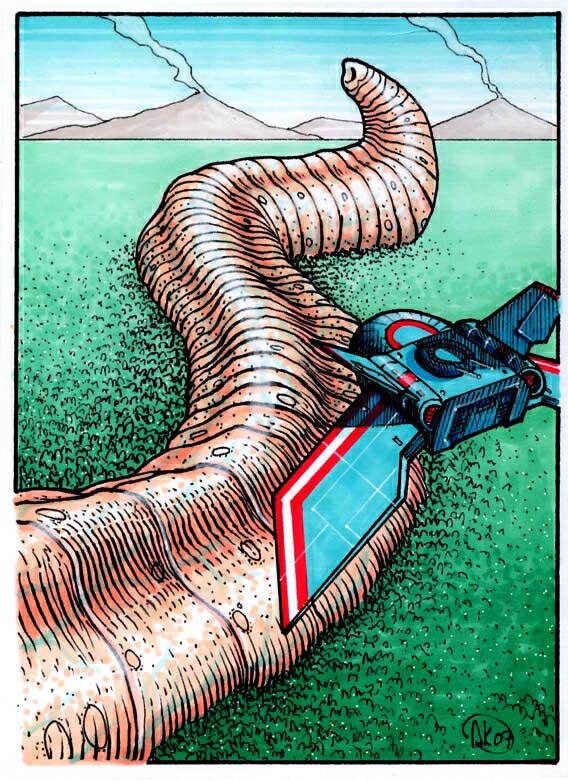
Immeasurable Horror Colour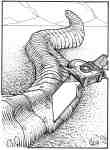
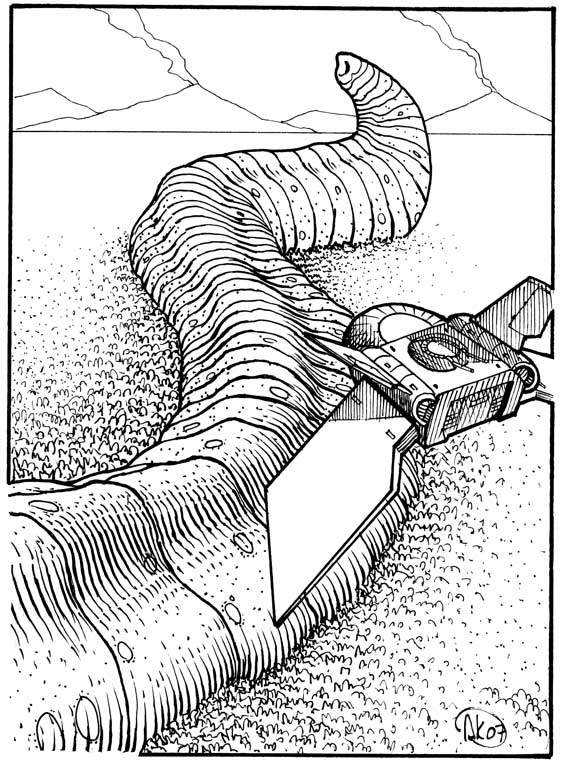
Immeasurable Horror B&W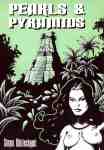
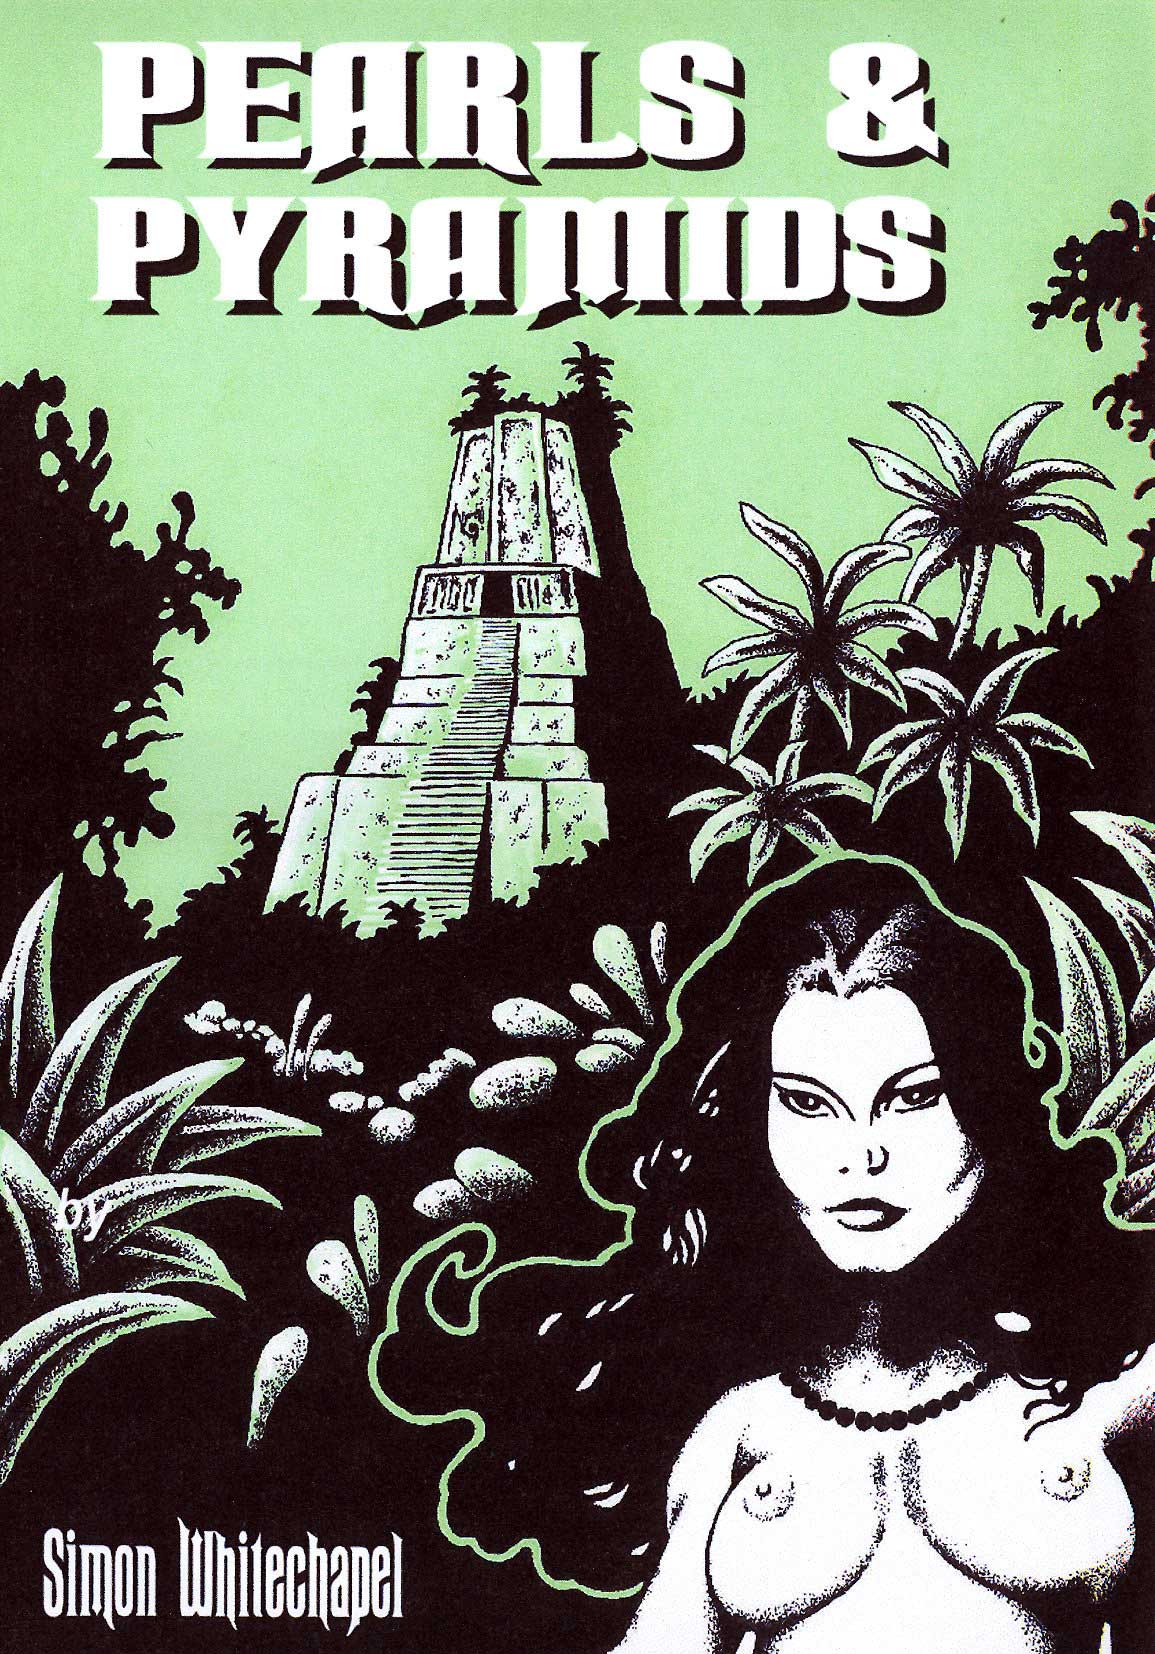
Pearls And Pyramids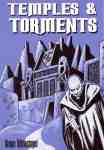
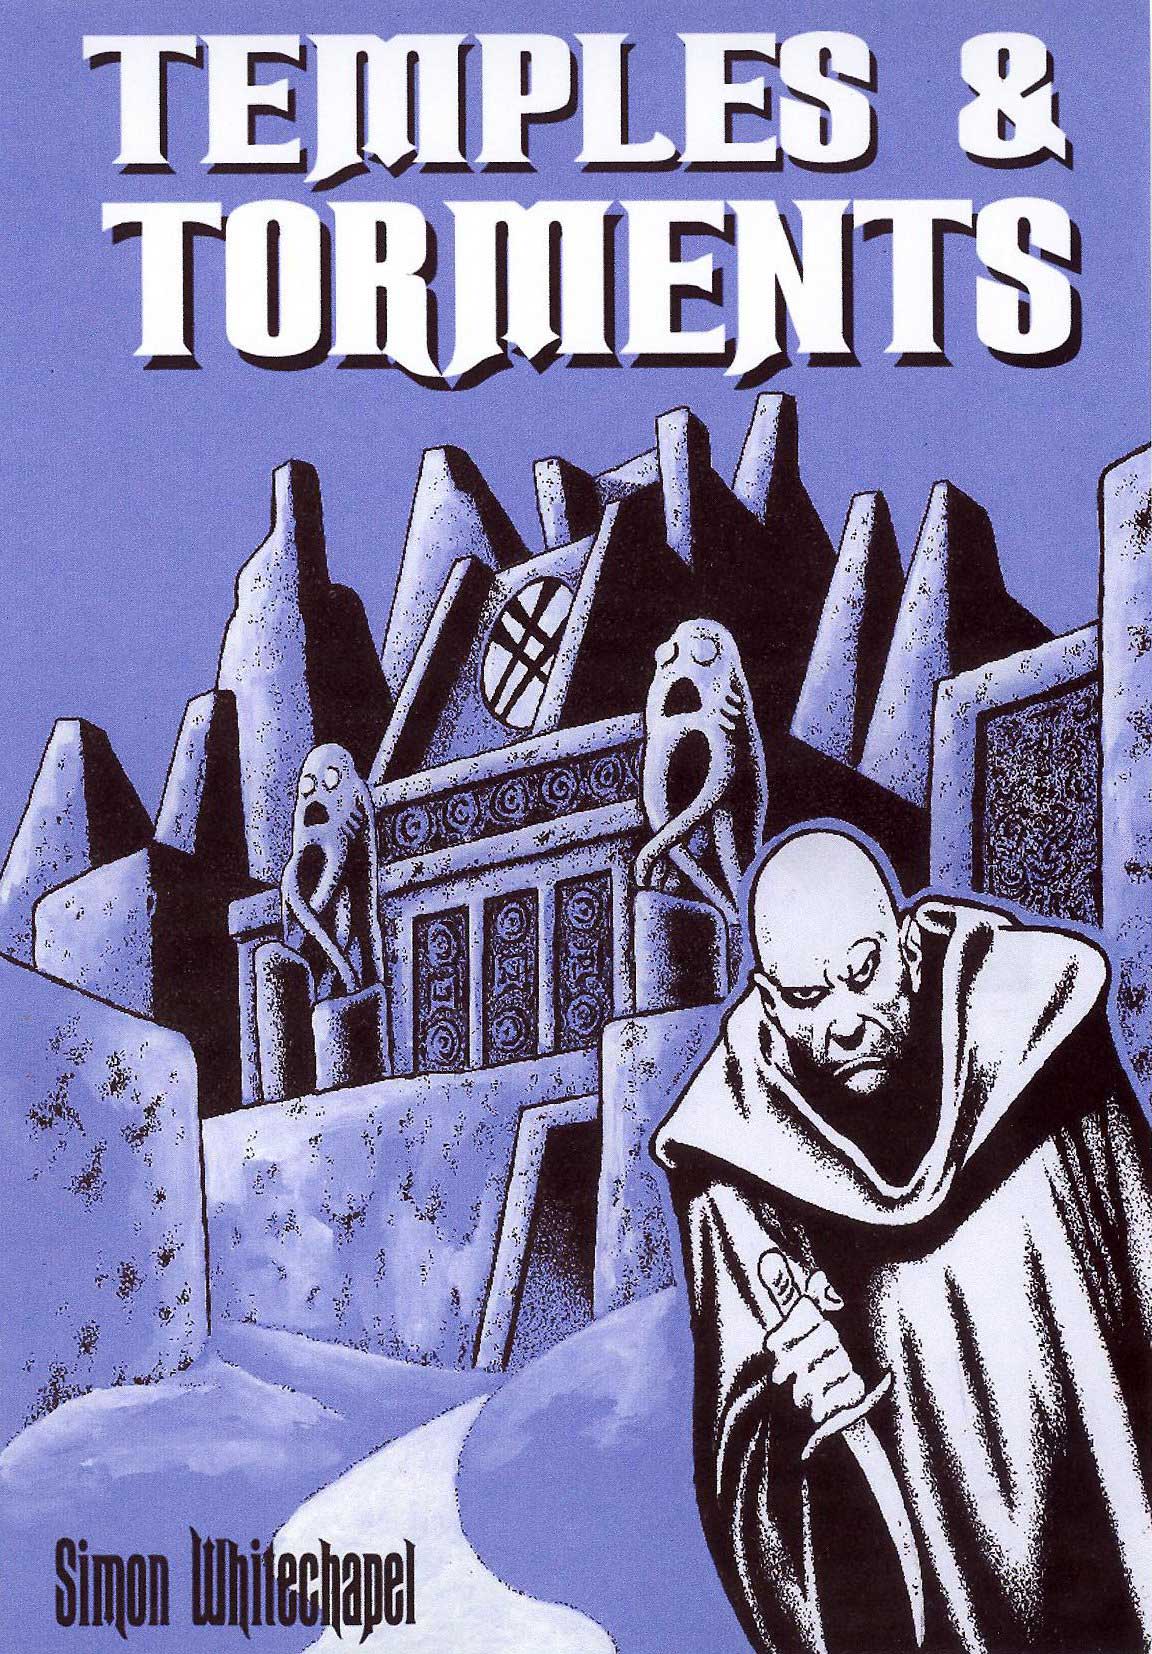
Temples And Torments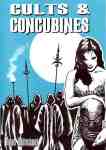
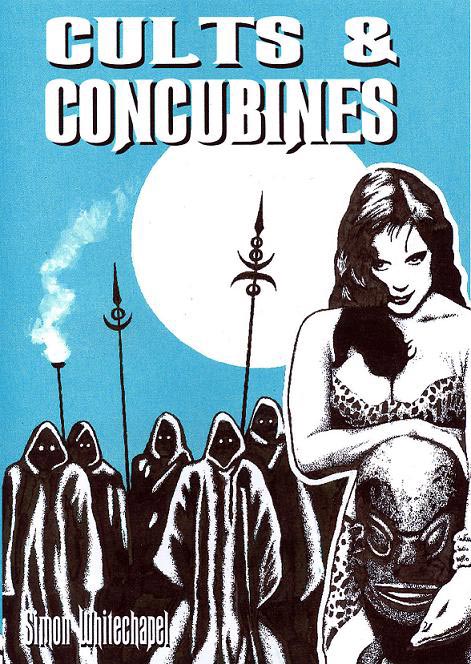
Cults And Concubines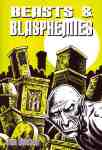
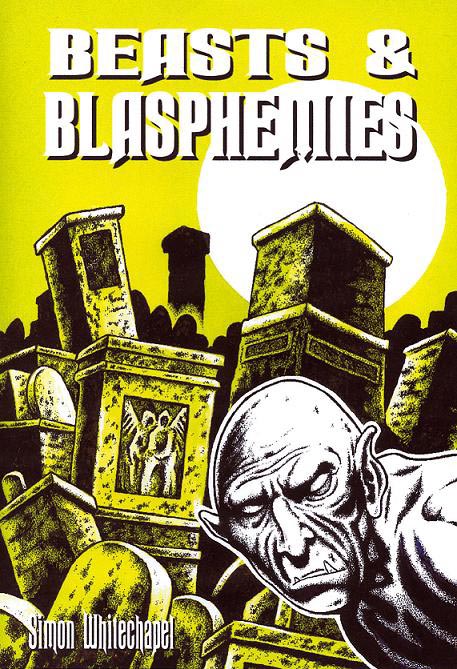
Beasts and Blasphemies
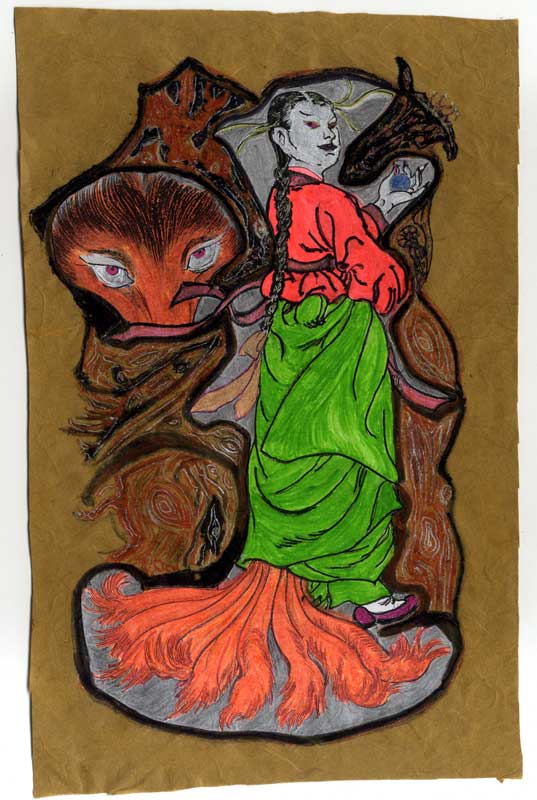
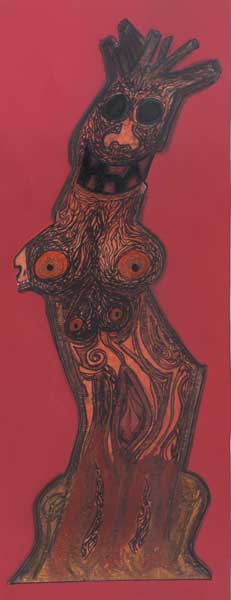
KUMIHO OF THE NAMSAN WOODS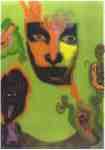
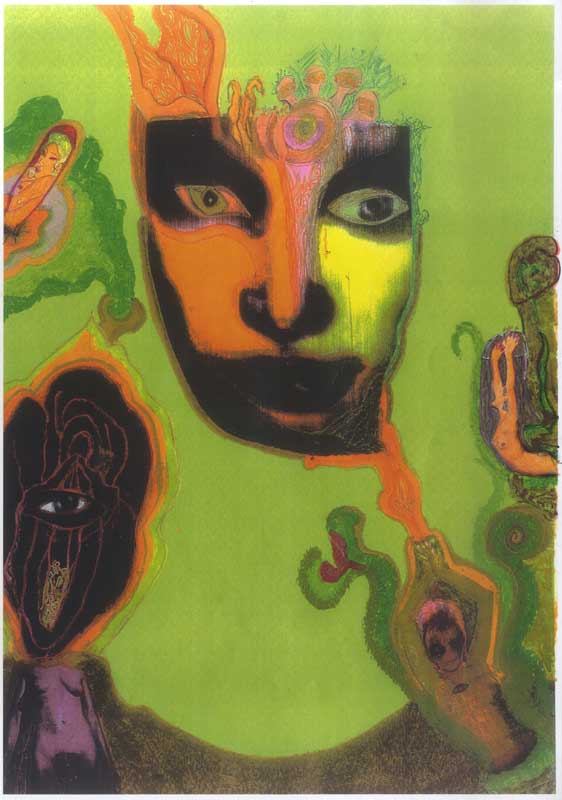
Shathak's Masque, 'At Zhar's bizarre garden party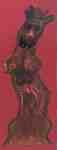
Zhar (As represented as 'Changsung' - a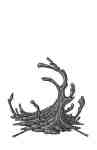
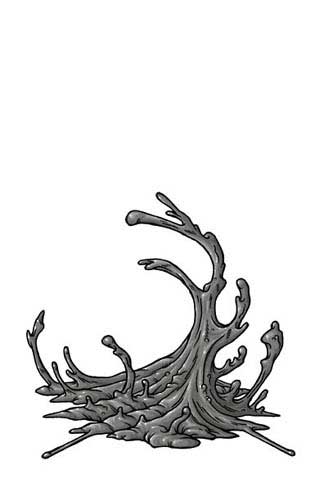
Formless Spawn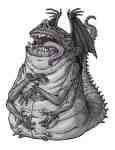
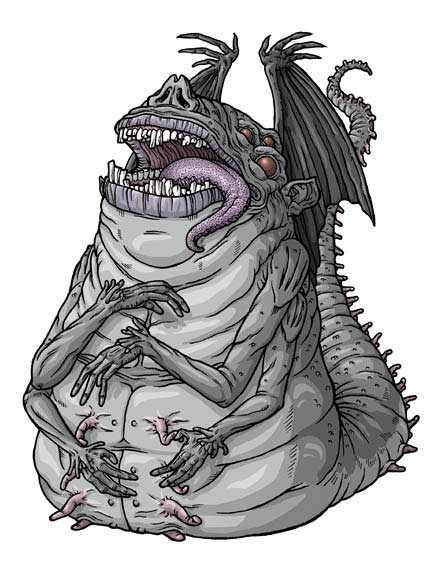
Tsathoggua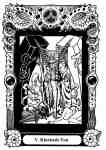
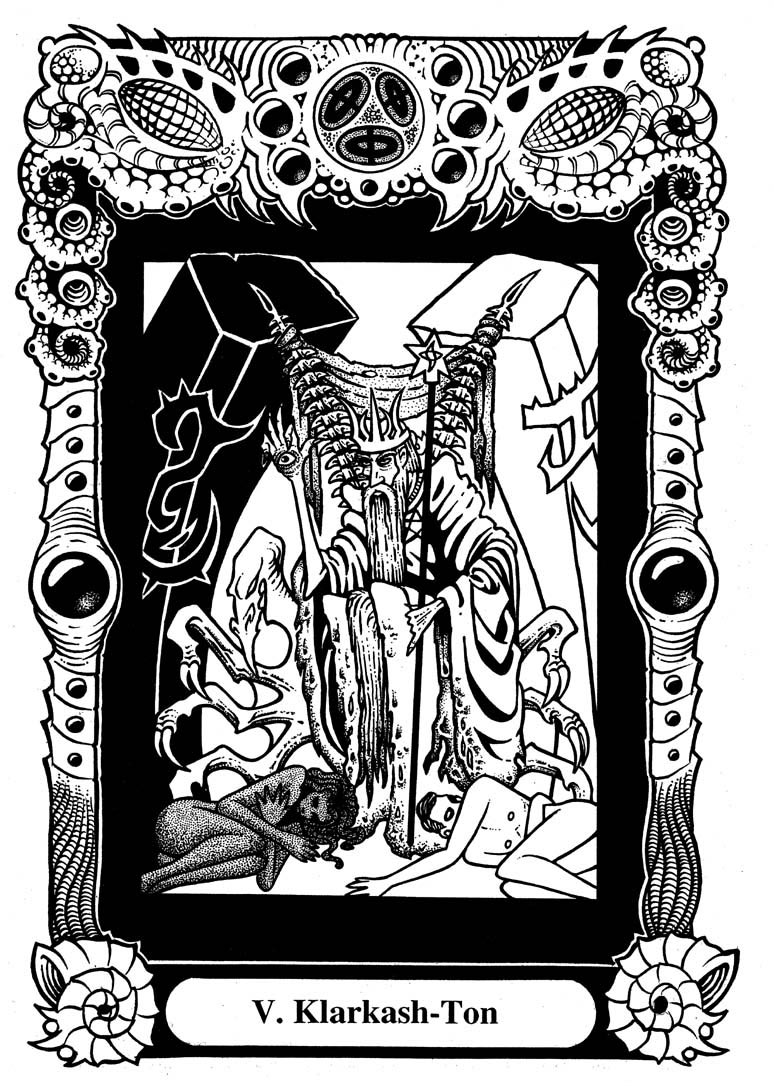
Atu V: Klarkash-Ton